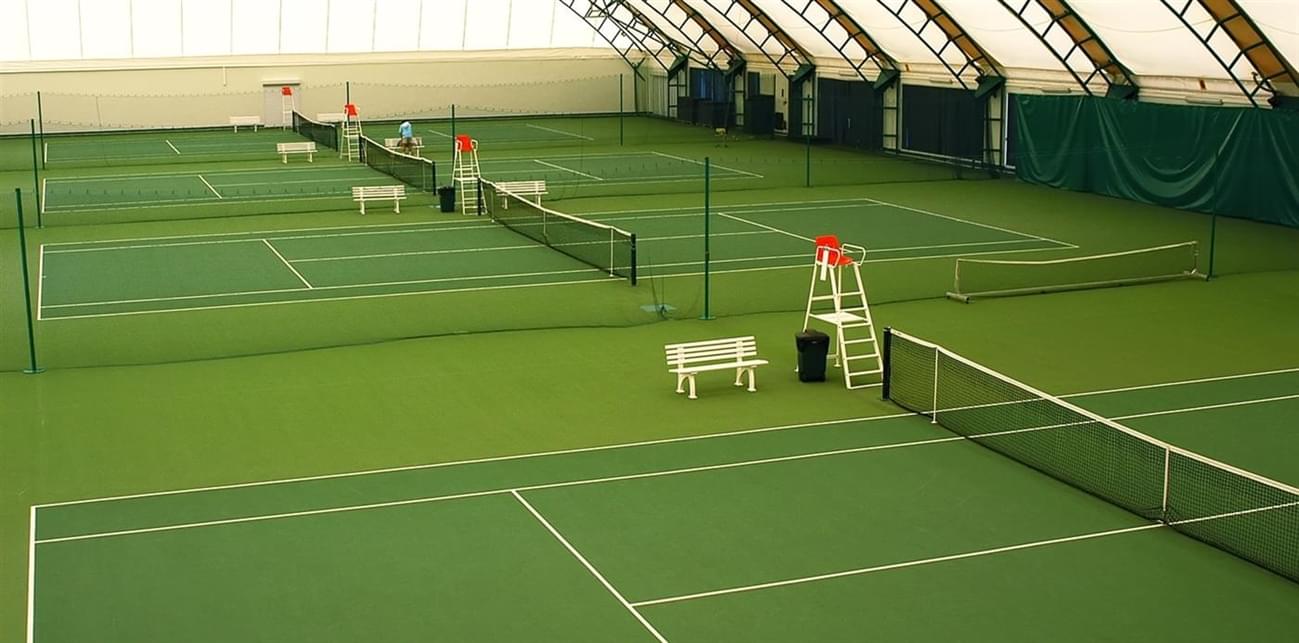
Are you a tennis enthusiast with a spacious backyard longing to have your own Tennis court installation? Building a tennis court may seem like a daunting task, but with the right guidance and a DIY spirit, you can turn your dream into a reality. This step-by-step guide will walk you through the process of installing a tennis court in your backyard, ensuring a smooth and successful project.
Assessing the Space
The first step is to evaluate the available space in your backyard. Determine the ideal location for the tennis court, considering factors like sunlight exposure, nearby trees, and any potential obstructions. Measure the area to ensure it meets the standard size requirements for a tennis court.
Obtaining Permits
Before starting any construction, check with your local authorities about zoning regulations and permits required for building a tennis court on your property. Some areas may have specific restrictions or guidelines you need to follow.
Clearing the Area
Clear the chosen area of any debris, rocks, or vegetation. Ensure that the ground is level and free from any irregularities that could affect the playing surface.
Choosing the Court Surface
Select the type of court surface you want for your tennis court. The most common options are hard courts, clay courts, and grass courts. Each surface has its advantages and disadvantages, so make an informed decision based on your preferences and budget.
Marking the Boundaries
Using measuring tapes and marking tools, outline the boundaries of the tennis court. Ensure that the measurements are accurate and follow the standard dimensions of a tennis court.
Excavation and Grading
Excavate the marked area to the required depth, usually around 6 to 8 inches. Properly grade the surface to ensure water drainage and prevent puddles during rainy weather.
Installing the Base
Lay a sturdy base material like crushed stone or concrete to create a stable foundation for the court surface. Compact the base thoroughly to avoid settling issues later on.
Fencing and Net Posts
Install a suitable fence around the court to keep the ball within the playing area and add privacy. Additionally, set up net posts at the center of each baseline.
Choosing the Net
Select a high-quality tennis net that complements the court surface and withstands various weather conditions. The standard height for a tennis net is 3 feet at the center.
Surfacing the Court
Depending on the type of court surface chosen, apply the appropriate materials to create a smooth and playable surface. Follow the manufacturer’s instructions for the best results.
Court Markings
Using accurate measurements and guidelines, mark the tennis court lines and boundaries with durable paint suitable for outdoor use.
Adding Amenities
Consider adding amenities like seating, shade structures, and storage for tennis equipment to enhance the overall experience of the tennis court.
Regular Maintenance
After completing the installation, establish a regular maintenance routine to keep your tennis court in top condition. This includes cleaning the surface, repairing any damages, and ensuring the net and fence are well-maintained.
Safety Measures
Implement safety measures around the court, such as padding on fences and net posts, to prevent injuries during play.
Enjoy Your Court!
Congratulations! With your DIY tennis court installation complete, it’s time to invite friends and family for some exciting matches. Embrace the joy of having your own court and make unforgettable memories.
Building a tennis court in your backyard may require effort and dedication, but the rewards of having a space to play and enjoy the sport are unmatched. By following this step-by-step guide, you can create a professional-looking tennis court right at home.
